Friday, July 18, 2008

Thailand Graduate Fashion Week 2008

Click here to jump to the photo gallery.

Awe-inspiring ideas are among the significant factors to move the vivacious non-stop fashion industry. In order to discover the striking and unique designs of aspiring fashion students, the Thailand Graduate Fashion Week 2008 (TGFW) was initiated. The event is held at CentralWorld, Bangkok, to offer an opportunity and a stage to countrywide BA fashion design students who graduated in 2007. Students from over 20 universities present their talent and work, e.g. Chulalongkorn, Thammasat, Silpakorn, Srinakarinwirot, Kasetsart, Burapa, Rangsit, and Bangkok University (just to name a few).

The event includes the following (locations in brackets):

  • TGFW Academic Catwalk Shows (Theatre A and B)
  • Fashion Academic Showcase: Exhibition showcasing outstanding designs selected by nationwide fashion students (Atrium)
  • TGFW Fashion Talks: Seminars and talks by fashion veterans
  • Education Days: In small booths, nationwide fashion institutes present their curriculum and students' works (Eden)
  • TGFW 2008 Awards for the most talented students
  • College Flea Market (outdoor area)
Here are some impressions from the Thailand Graduate Fashion Week 2008. Click an image to open it in full view:


Education Days in the Eden area: Each university presents itself in a small booth.


Tourists enjoying a live concert. Live bands and the MET107 DJs are rocking the crowd at the Central Court zone.


Click here to view all images.

Labels: , ,

Wednesday, July 16, 2008

PicLens: Browse Images with Style


The PicLens browser plugin is for those of you who want to browse images with style: It presents images on a shiny, endless 3D-wall, providing an immersive full-screen experience for viewing photos and videos on the supported sites and on sites that support Media RSS.

For example, you can use PicLens for amazon, Youtube, deviantART, Picasa, flickr, Photobucket, Myspace, Facebook, Bebo, hi5, all major image search engines, and many more websites.

Gone are the times when you had to hit the "next" button to go to the next page of images because PicLens loads images from the next pages automatically. You just keep on walking along the wall.

If you feel like exploring recent events PicLens with its "Discover" button slaps the latest news, sports, fashion, entertainment, and other images as well as videos, movie trailers etc. on your screen. With style, of course.

I just realized that my blog entry sounds like a praise--but there you can see how much I like this plugin! I give you an example: Google image search only displays 18 images, then I have to click the arrow button to see the next batch, which takes time. With PicLens, I basically have just one wall of images, which I can move quickly to scroll through the search results.

It also looks quite cool on deviantART when you can scroll through the masses of images with ease but unfortunately the drag and drop function (that's used for faving an image) gets lost.

Anyway, if you like images and shiny interfaces you should definitely give it a try. On their website http://www.piclens.com you will find the free plugin as well as a program to create PicLens-friendly photo galleries.

Labels: ,

Tuesday, July 8, 2008

glossyart.com Wallpaper Collection

All our wallpapers in one place!

Feel free to download the wallpapers and put them on your desktop but please remember that everything except private use is copyright infringement (e.g. resubmitting the images on the Internet, selling the images).


More to be added soon!

Labels: ,

TinEye: Image Search Engine and Art Theft Detector


TinEye should be interesting for people who want a powerful tool against art theft and copyright infringement because by uploading your original image or entering the URL of the image you can instantly see who has stolen your image (which some people say is also a good indicator of how famous you really are ;)).

According to the official FAQ, TinEye seems to be really promising. These are only excerpts:


What does TinEye do?

TinEye does for images what Google does for text.

Just as you are familiar with entering text in Google to find web pages that contain that text, using TinEye, you enter an image to find pages where that particular image (and modified versions of it) appears.


Can TinEye find alterations of a query image?

Yes. As long as they are alterations of the same query image, TinEye can find them and include them in your search results.

Note that search results are ordered by ‘relevance’ (i.e. how well the result images match your query image), so image alterations are typically found at the end of your search results.


What sorts of image alterations can TinEye find?

It depends upon the image, but TinEye frequently returns image results with colour adjustments, added or removed text, crops, and slight rotations. TinEye can also detect images that are part of a collage or have been blended with another image.

(Check out the whole FAQ at http://tineye.com/faq)

The only downside of this project is that it's still in beta. This means that the number of images in their database is to be expanded (although it can search 580 million images by now), and you need an invitation to sign up and use it. However, on the TinEye home page you can enter your e-mail address to request an invitation and roughly after one day you'll get one.

Labels: ,

Monday, July 7, 2008

Taking and Processing Infrared Photos

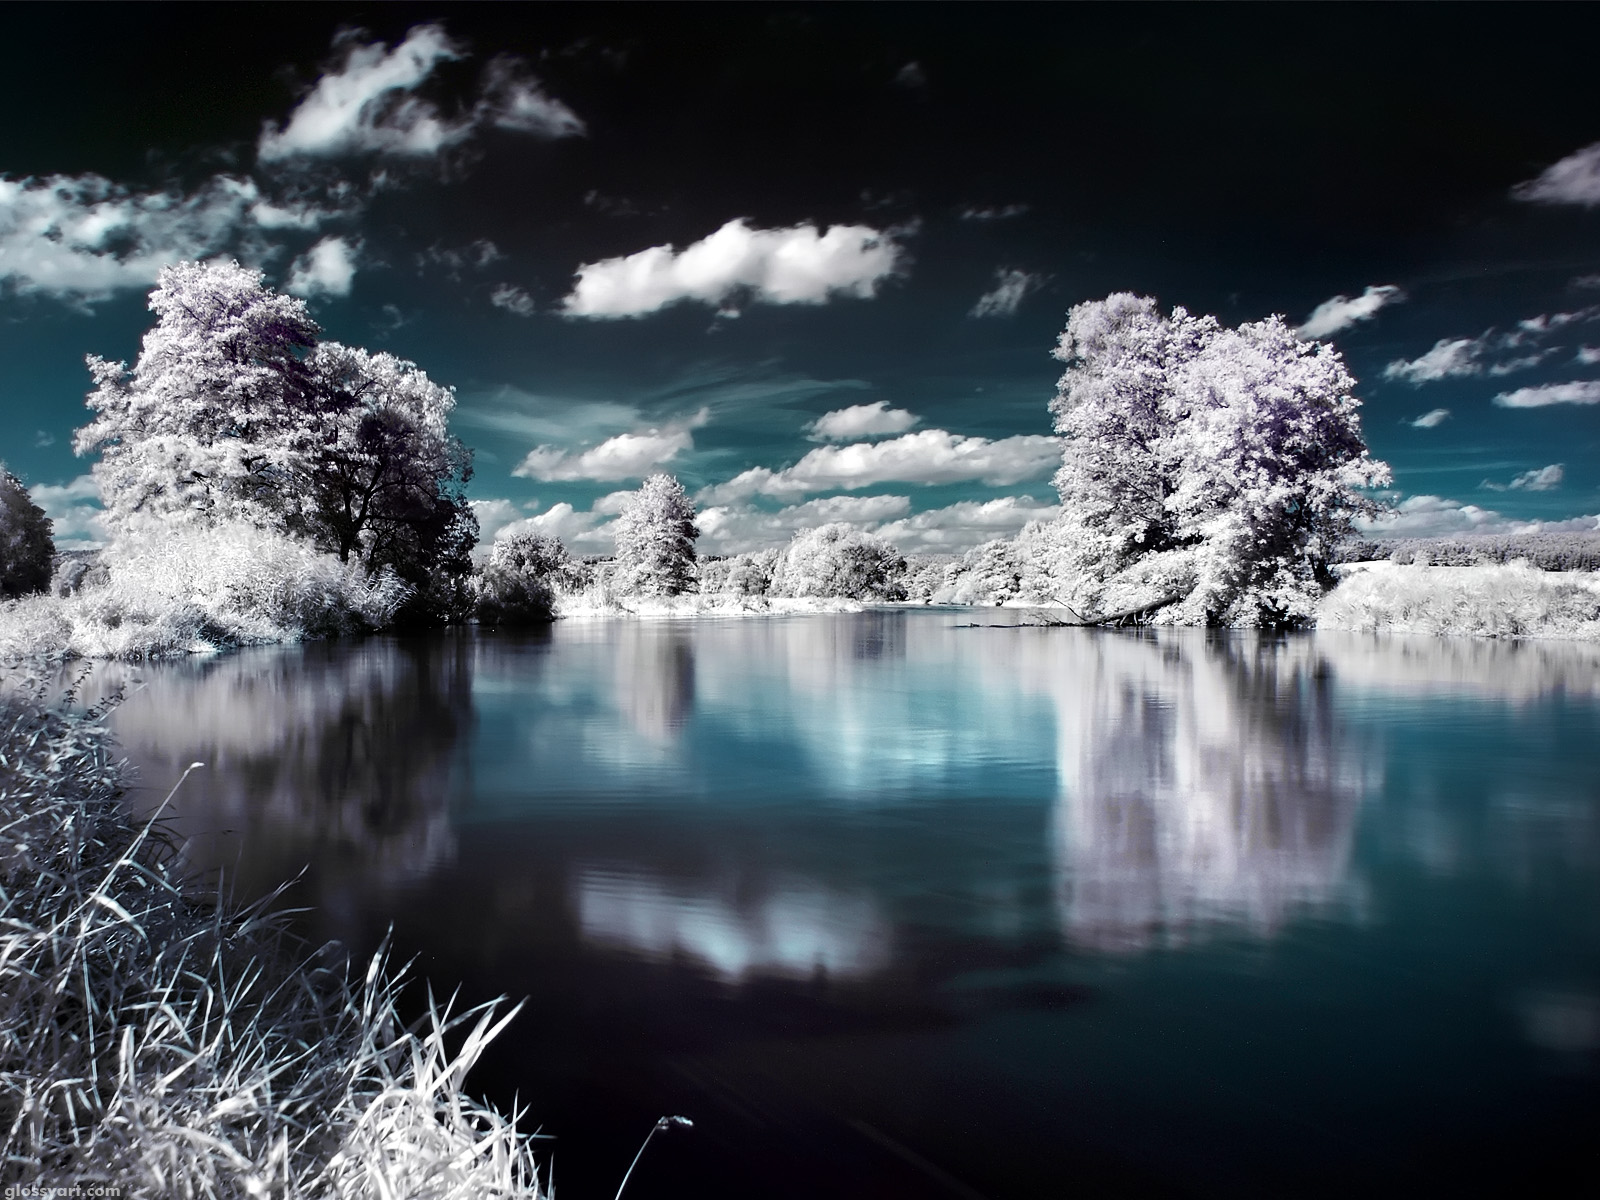
In this tutorial you will learn how to take and process infrared (IR) images.You probably came across some infrared photos already without noticing it and were stunned by their beauty and maybe wondering how their special appearance was achieved. Most photographers choose a blue tone for their infrared images because then they will get a winterly look but sepia tones are found as well. However, the most important characteristics of an IR shot are the white trees and plants because they reflect IR rays almost completely. Enough said now–time for some action!


1. Requirements

If you want to take infrared images you first need an IR filter and a camera that can “see” IR light. Since some cameras have a built-in filter that prevents IR rays from coming through, you have to check if your camera can see IR light by pointing a remote control to the camera (with no filter attached). If you can see the infrared LED of your remote control glow then your camera is capable of taking IR shots.

There’s a variety of IR filters available. A good standard filter is the Hoya R72 infrared filter. The “72″ indicates that it will block light of wavelengths of more than 720 nm. You can also buy a colored IR filter for better contrast in different situations but if you have Photoshop you don't really need one because all the level adjustments can be done there.


2. Taking the shot

You can hardly see anything when you look through an IR filter. Since it blocks a huge amount of light the best shots are taken in bright sunlight with the sun in your back for maximum IR reflection. But even if it’s bright, you will have to use a tripod because the exposure will be much longer than normal.

Tip: Due to the long exposure time, you should also use a remote control or the self-timer to avoid vibrations. For best results, wait until there is no wind and the leaves on the trees are not moving so that everything is sharp on the image.

I experienced that a white balance of 2500K G9 works best for my camera but different camera models might require different settings. Since the Hoya R72 IR filter is almost black it always takes some time to get a sharp image with the auto focus. Once the focus is good enough I set the camera to manual focus (to "lock" the focus) and shot several images with different exposures in RAW mode. Thus I can choose the best exposure later because the display of the camera might not show the brightness accurately. Moreover, many different exposures allow me to create an HDR image if desired.

However, if the lighting conditions are not good enough problems with the autofocus may occur. In such cases, you have to focus manually while keeping the filter attached to the lens. If you remove the filter to focus manually the photo will be slightly blurred because IR rays do not have the same focal point than visible light rays.


3. Processing the image in Photoshop

Please note: This is only one way to process an IR image. Another way can be found here: http://www.glossyart.com/blog/2008/06/infrared-photography-tutorial.html


Your infrared image will probably have a red/magenta hue. Additionally, it may be very noisy depending on your exposure settings and camera quality. However, the noise can be fixed easily with Photoshop and also the hue is no problem. Here’s my original image:

Orginial IR photo

The first step is to open the channel mixer (image > adjustments > channel mixer). Choose “Red” as the output channel and move the source channel slider of red to 0% and the slider of blue to 100%. Then choose “Blue” from the output channel menu and slide red to 100% and blue to 0%. You should get something like this:

After applying the channel mixer

Now it’s time to adjust the levels. Click on image > adjustments > levels (or press [Ctrl+L] and click on the “auto” button. Here’s the result of this action:

Levels 1

Additionally, you can adjust the levels manually. Choose the red channel in the drop-down menu and move the black slider a bit to the right (where the red slider is):

red channel

Then choose the green channel and move the sliders as indicated below:

Green channel

Now it’s time to change the hue. Click on image > adjustments > hue/saturation (or press [Ctrl+U]) and check the “colorize” box on the right. Move the sliders of hue and saturation until you get a result that you like. Mine looks like this:

Hue change

For reducing the noise I recommend Photoshop plugins specially designed for this job because the Photoshop noise reduction feature (despecle) is unsatisfactory. With plugins such as Noise Ninja or Neat Image you will get much better results. For the final step I also applied a bleaching filter (Red Paw Media Bleach Bypass Pro; free BleachBypass) before reducing the noise so that I got even more contrast. In the end my picture looks like this:

final result

Labels: , ,

Wednesday, July 2, 2008

Link to glossyart.com

If you have your own webspace and want to link to glossyart.com feel free to use these buttons. Thank you! :)

glossyart button

glossyart button

glossyart button

glossyart button

glossyart button

glossyart button

Labels: ,